


Introducing Dotloop’s Newest Feature: The Report Builder
dotloop
June 28, 2017 | comments
Your real estate transaction management system just got even better
We’ve heard you loud and clear: you need to know your business to grow your business, so it’s no wonder that one of our most requested features is improved reporting.
Today, we’re excited to announce dotloop’s newest feature: The Report Builder. If you’re a or user, this ad hoc reporting tool allows you to download a csv of your loop (transaction) data to slice, dice, and analyze as you wish. How, you ask?
You can use the Report Builder to help identify upcoming listing expires, to gain a holistic understanding of all transaction statuses in your business, to check in with agents who have not yet submitted their paperwork for an upcoming closing date — the possibilities are endless!
So, how does it work?
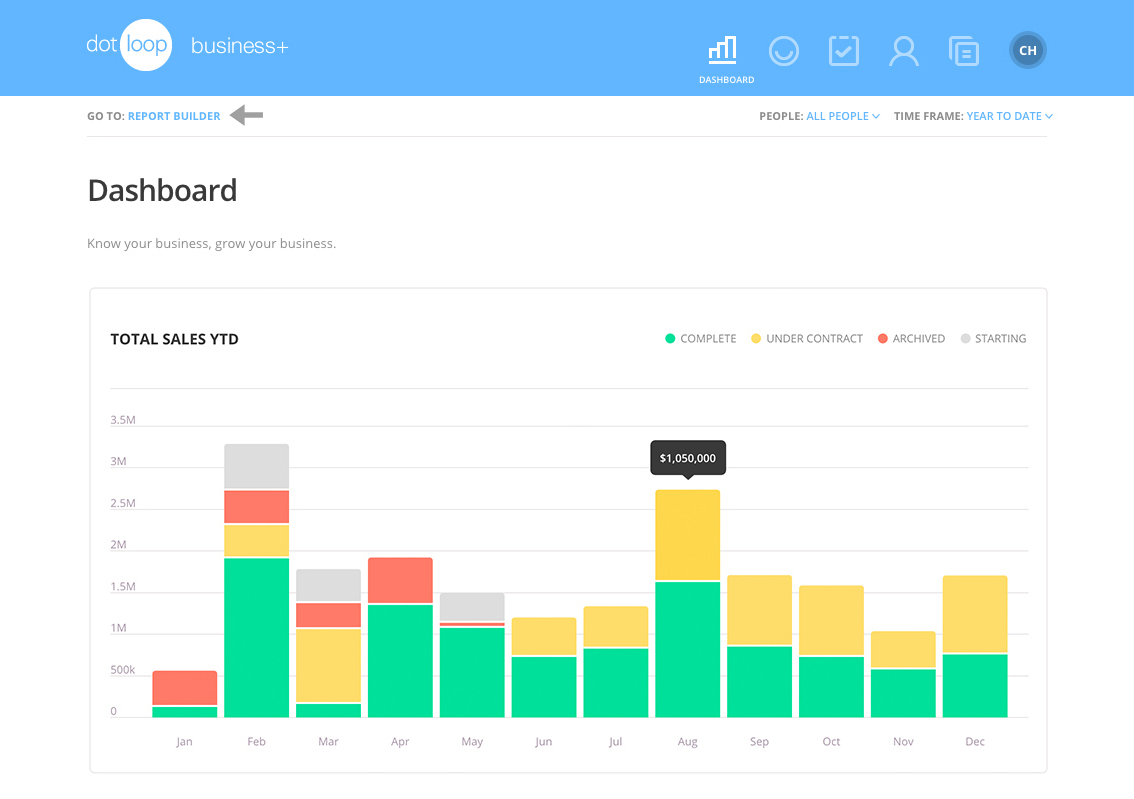
STEP 1: Locate the REPORTS feature
To navigate to the Report Builder in your teams or broker dashboard, simply click on the dashboard button in the top right. Once on your dashboard, select the REPORT BUILDER option on the top left side of the page.
STEP 2: Name your report
Create a name for your report that reflects the type of data that you’re capturing. Since you will be able to access previous reports, it’s helpful to give your report a clear and accurate name. Trust us, your future self will thank you.
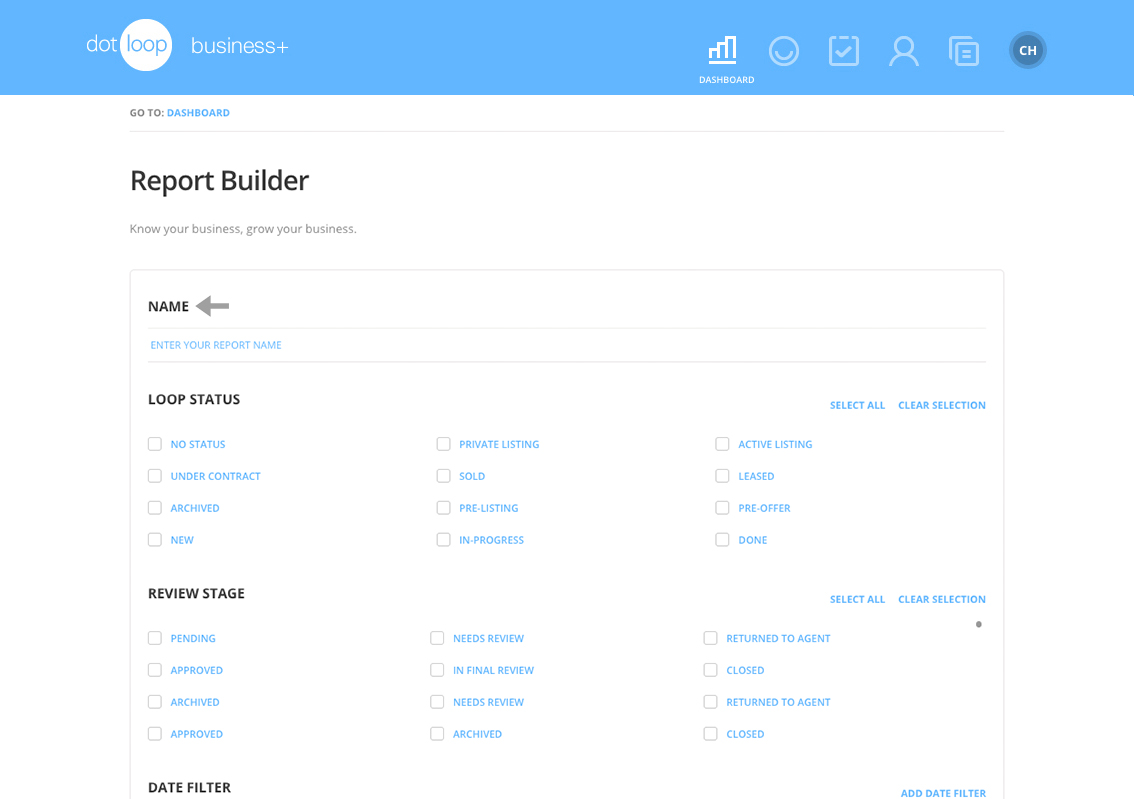
STEP 3: Select your loop statuses
Select the loop statuses that you would like to filter your data on. You can select one, many, or all of the loop status options. And if you’d like to select all of your loop statuses, turn your attention to the top right corner and simply click SELECT ALL; if you want to deselect all, click CLEAR SELECTION.
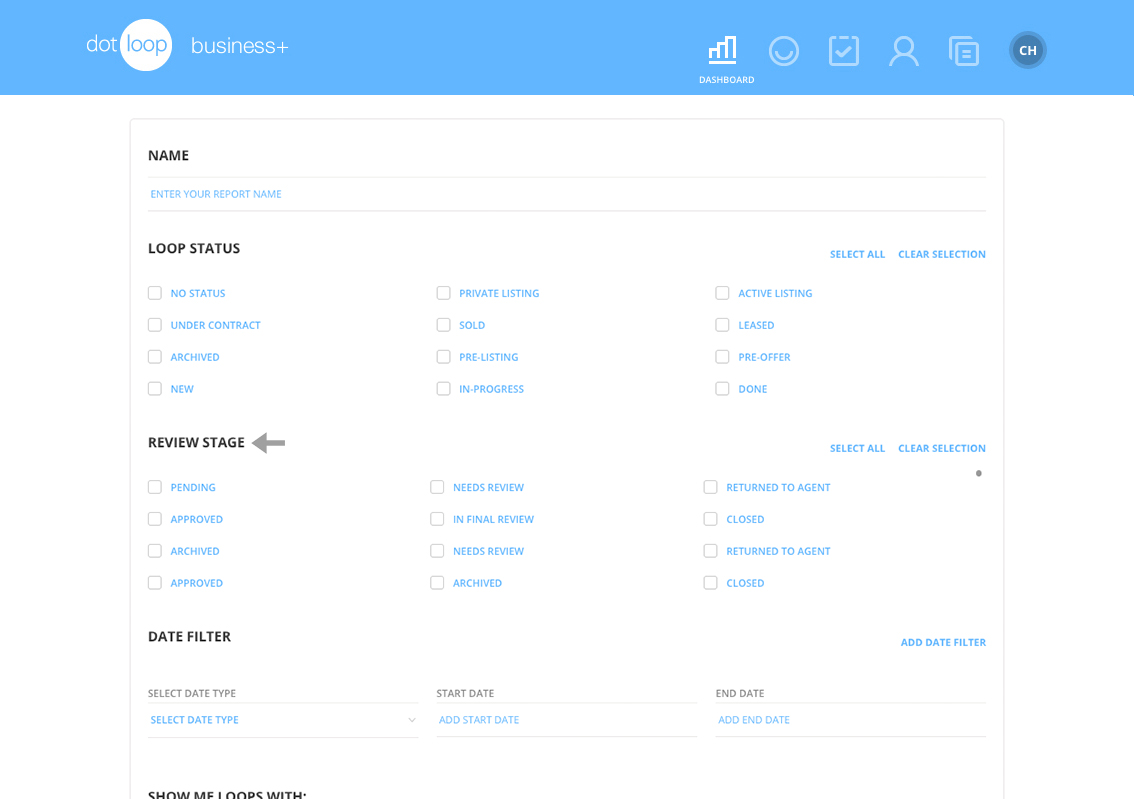
STEP 4: Select your loop review stage
To filter on review stage, select the compliance statuses that you would like to filter your data on. Just like the loop statuses, you can select one, multiple, or all statuses. Again, you can use SELECT ALL to select all statuses or the CLEAR SELECTION to deselect all of the options.
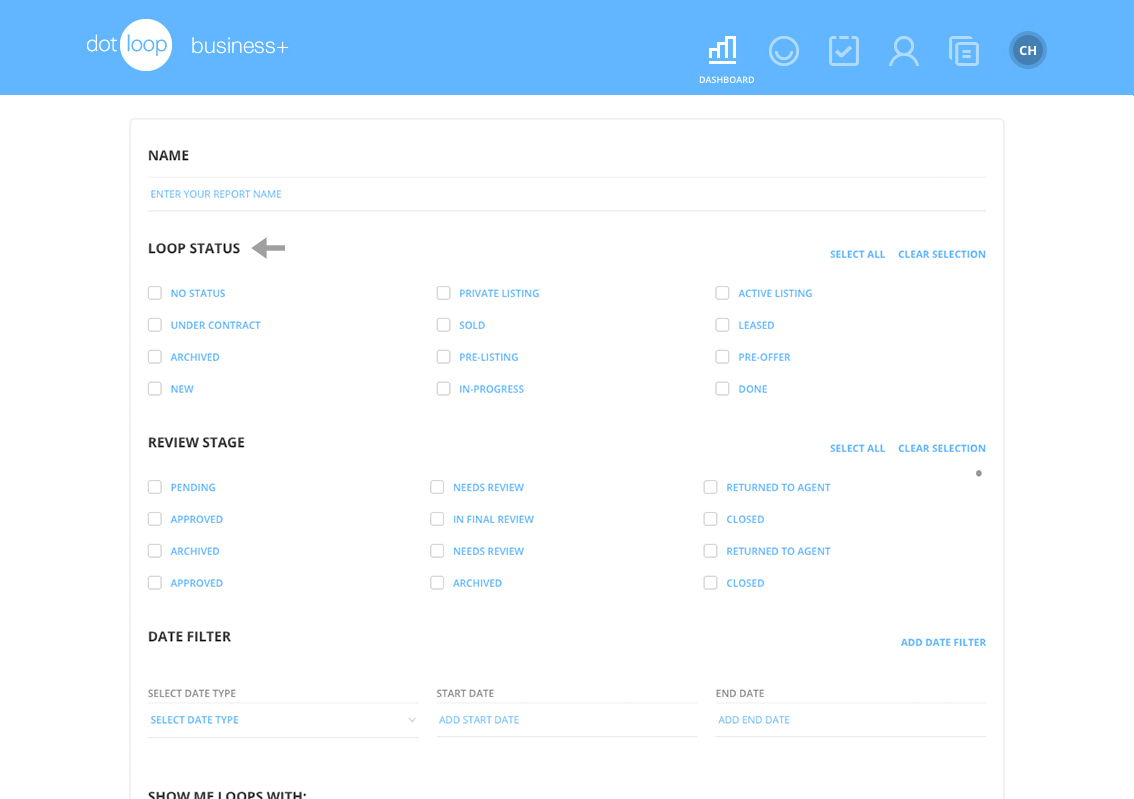
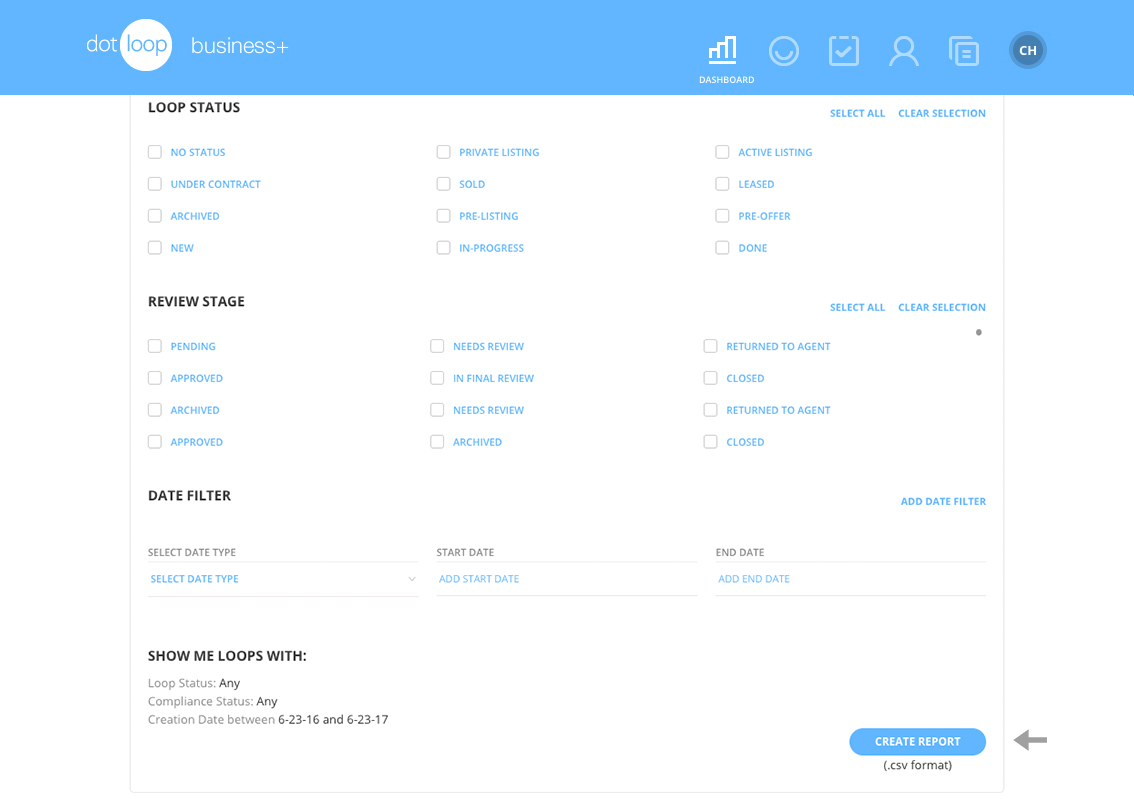
STEP 5: Select your date filters
There are a number of date types that you can use as filters: offer date, closing date, listing date, listing expiration date, and creation date. Once you select the date type that you would like to use for the report, you can select the start and end dates. If you would like to add more than one date filters, click the ADD DATE FILTER option in the top right.

STEP 6: Create your report
Once you have added all of the filter options that you’d like for your report, scroll to the bottom and click the CREATE REPORT button on the bottom right. A .csv format file will be created with the relevant data based on your filter criteria. To the left of the CREATE REPORT button you will see a review of the filters that you have applied to the report.
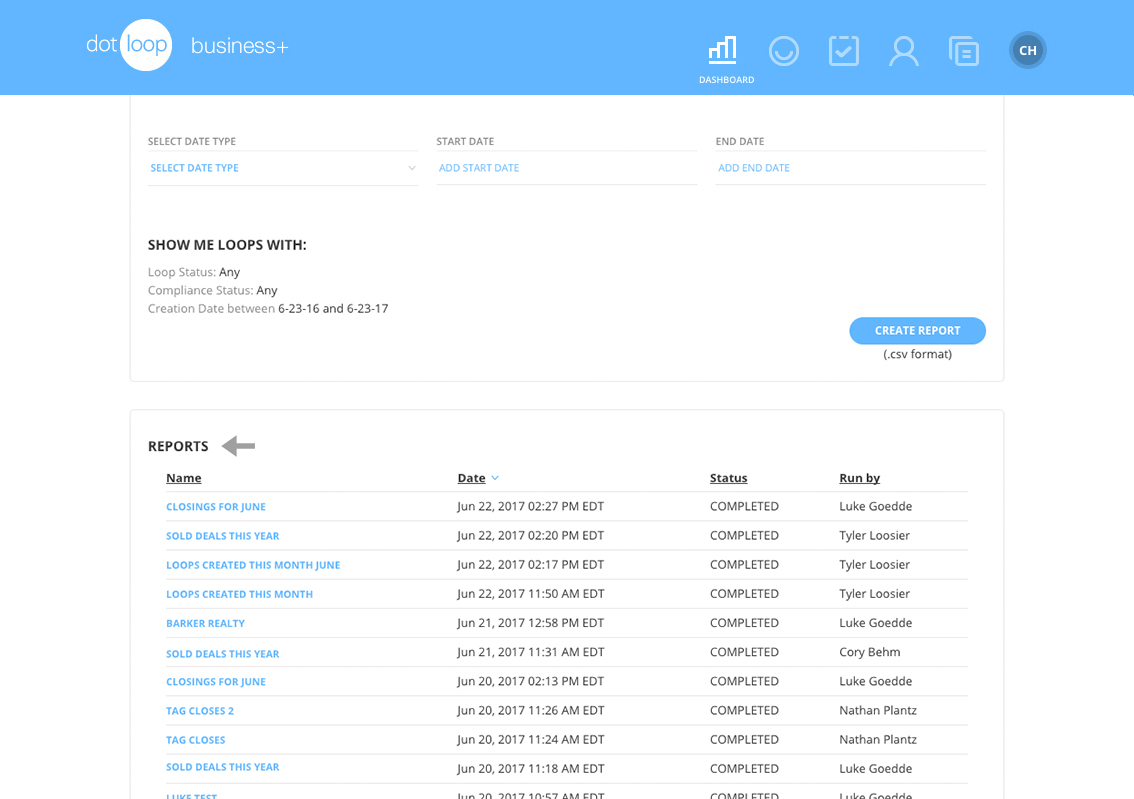
BONUS: View your past reports and their statuses
Below the review and CREATE REPORT button, there is a section that shows all past reports that have been run, including their names, statuses and dates.
To learn more about the Report Builder and useful Excel tips, watch the webinar recording.
Not a BUSINESS+ or Teams customer? Contact us to learn more.